

One of my friends birthday was this sunday and i was feeling crafty so i made her this door hanging monogram with her letter. I wasn't planning on doing a tutorial on this but since i took some pictures of the process i decided to do a little walkthrough kind of thing that can hopefully inspire someone. So let's get started!
Materials:
 1 piece of a square or rectangular (the shape it's up to you) cardboard or wood. I used a 20x20 cms MDF.
A template with your design.
Acrylic paint & brushes.
Ribbon.
Stapler.
Masking tape.
Lighter (uhhhh).
Glue gun *optional*.
Glitter glue *optional*.
1 piece of a square or rectangular (the shape it's up to you) cardboard or wood. I used a 20x20 cms MDF.
A template with your design.
Acrylic paint & brushes.
Ribbon.
Stapler.
Masking tape.
Lighter (uhhhh).
Glue gun *optional*.
Glitter glue *optional*.
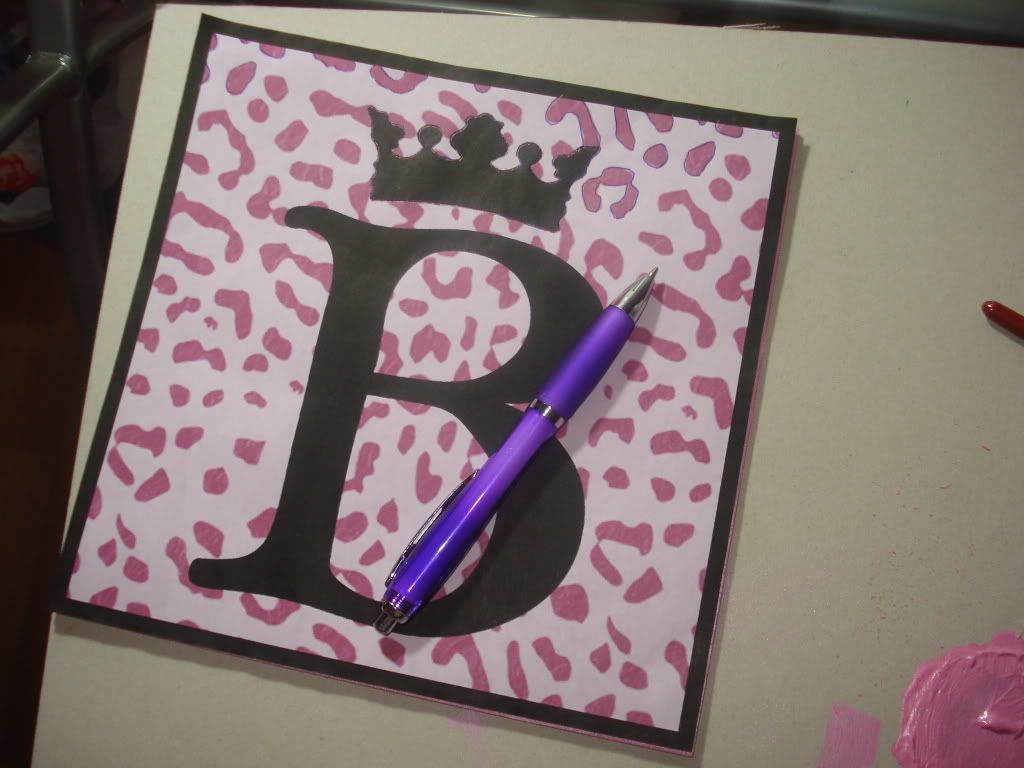
Before getting started i designed my template in photoshop so that i would have an idea of what the final piece was going to look like. This way it's easier to choose the colours and knowing which ones look good together.
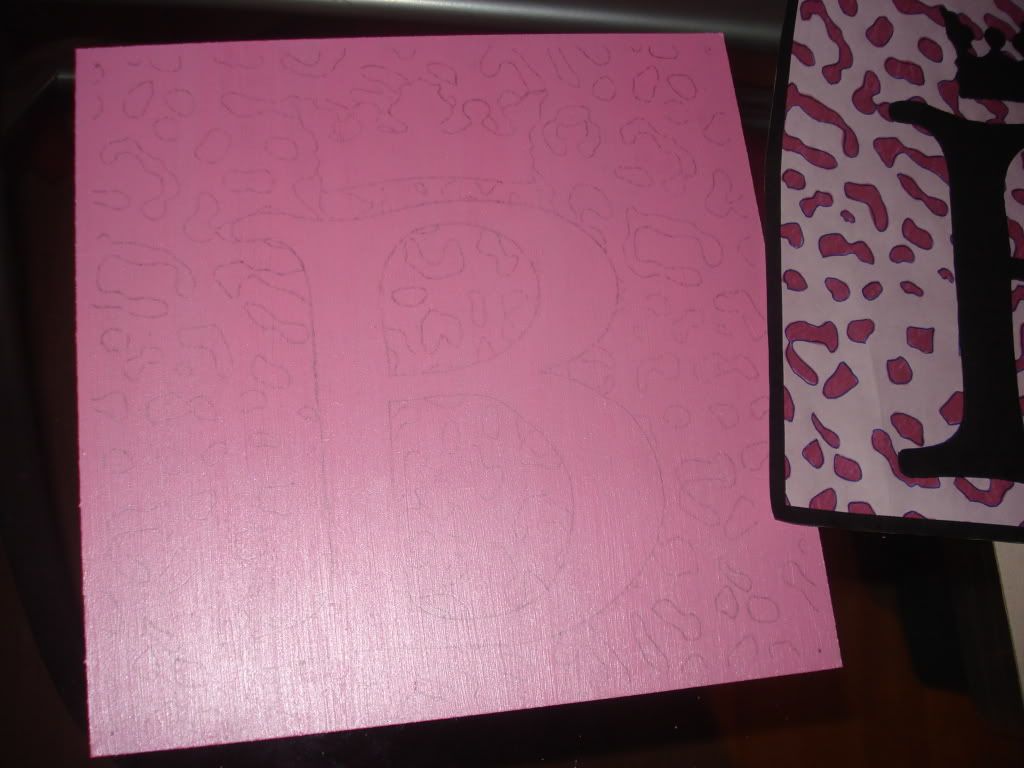
01. Paint your wood with your base colour.

02. Place your template over the wood when it dries and trace it. I doodled over all the back of the template with a pencil so that when i traced it a little bit of gray would show over the wood.
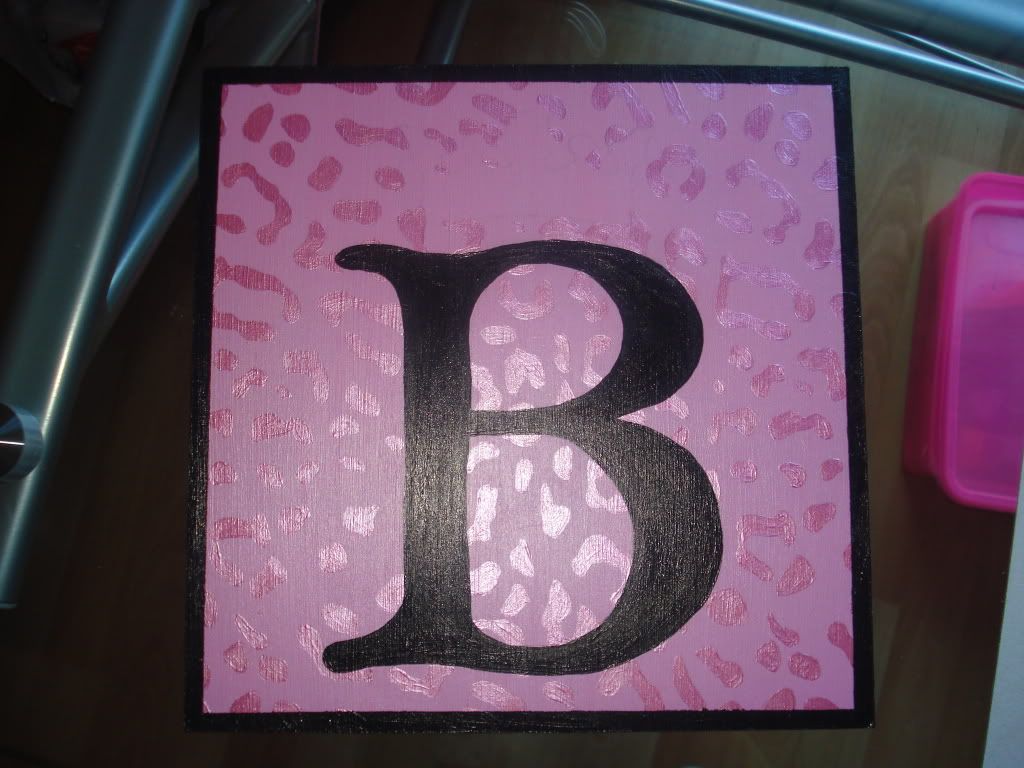
03. Time to paint!
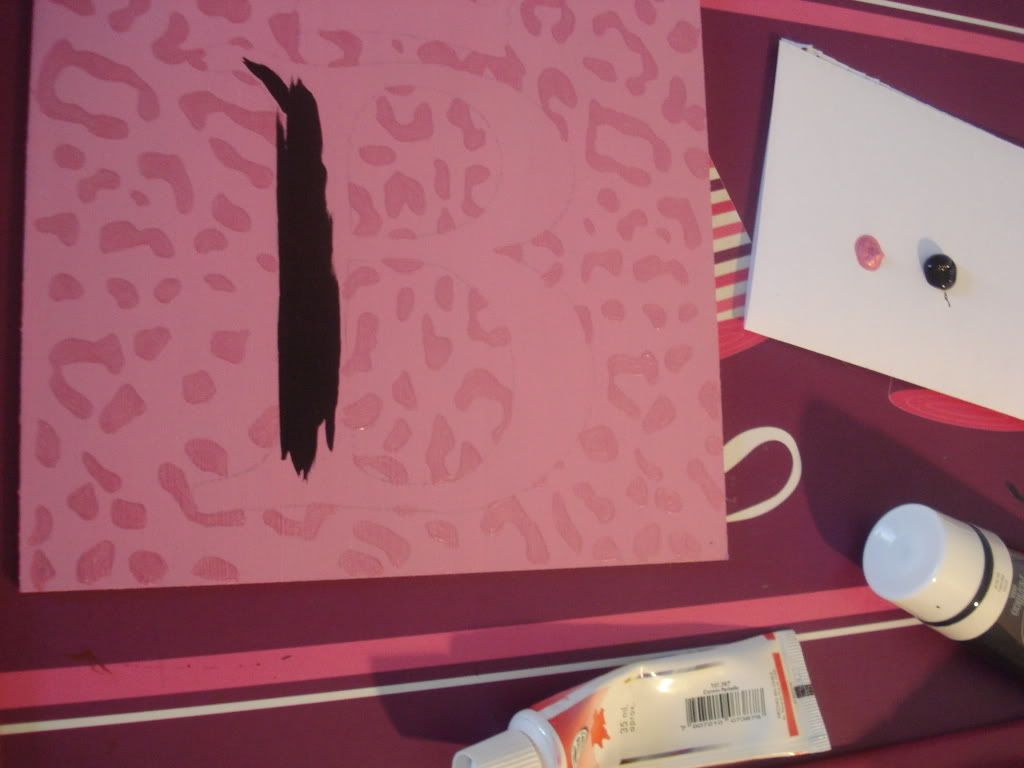

04. If your design has straight lines use masking tape to help yourself. While doing this i also painted the back with black.
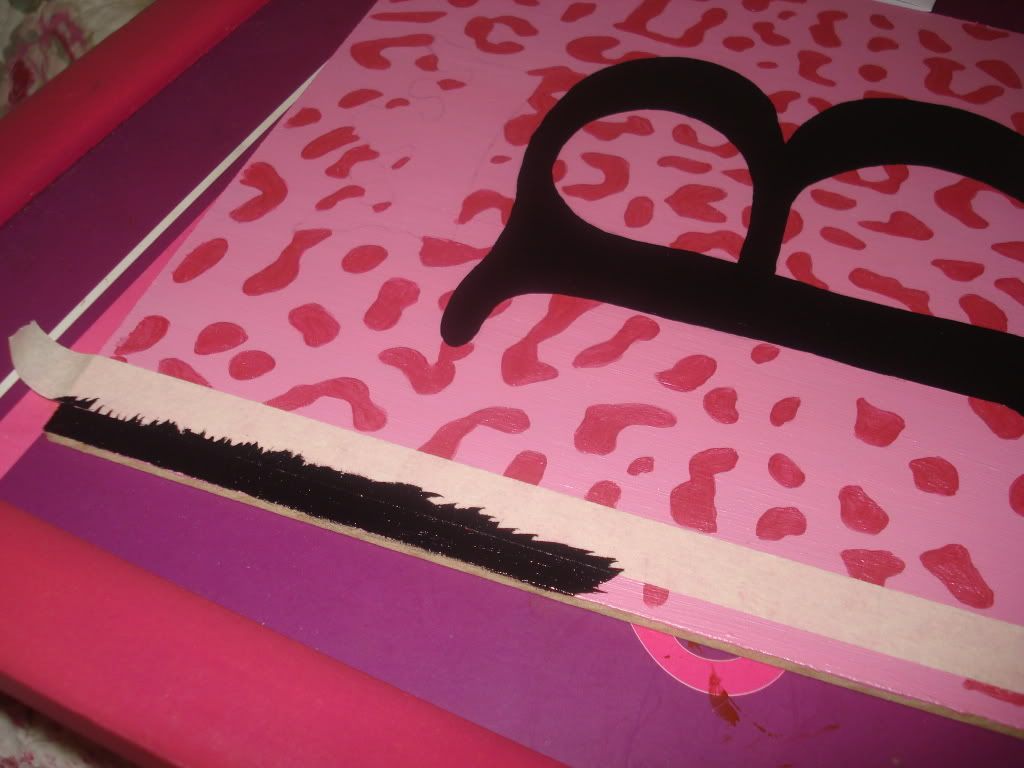
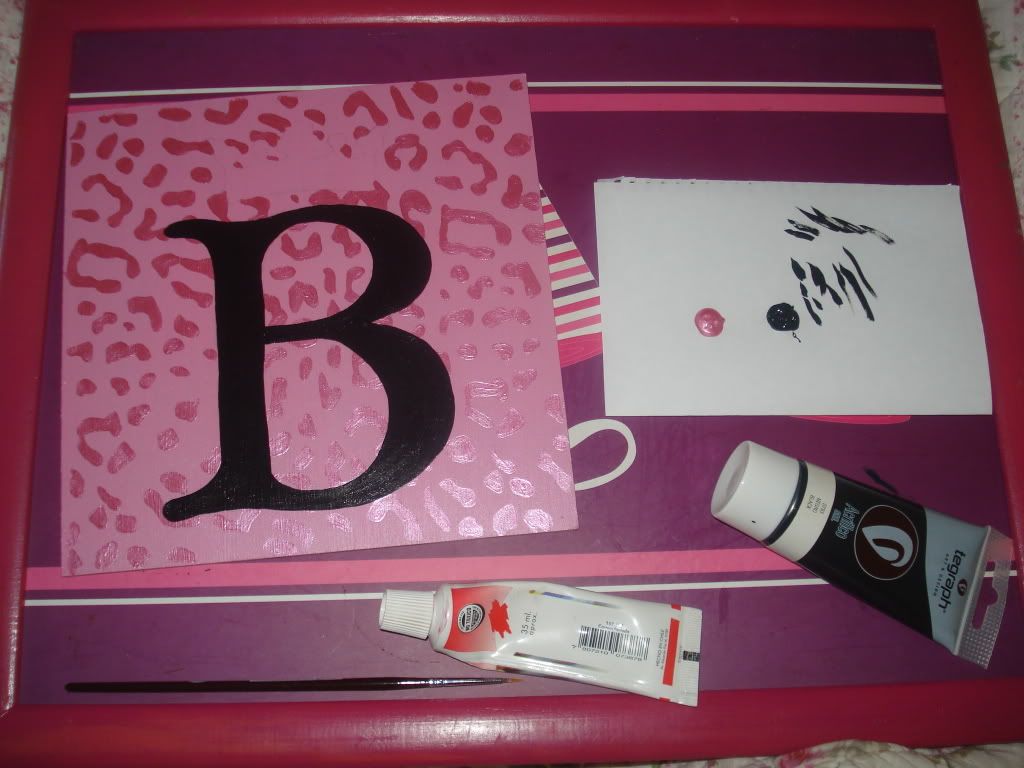
Looking good! ;)
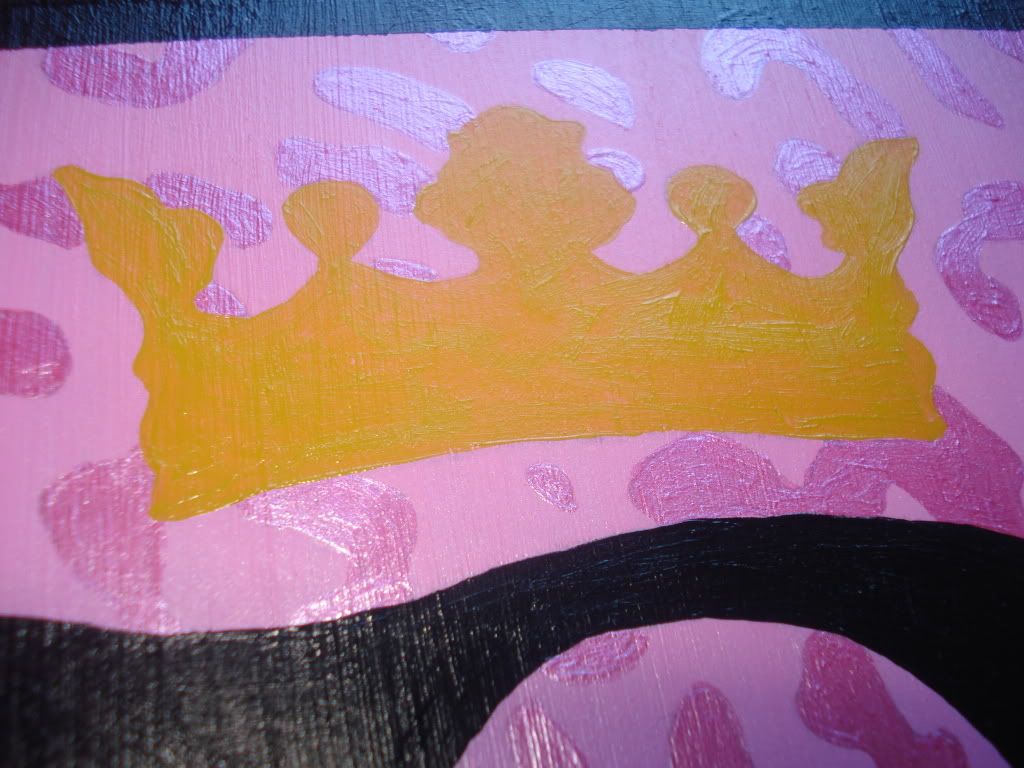
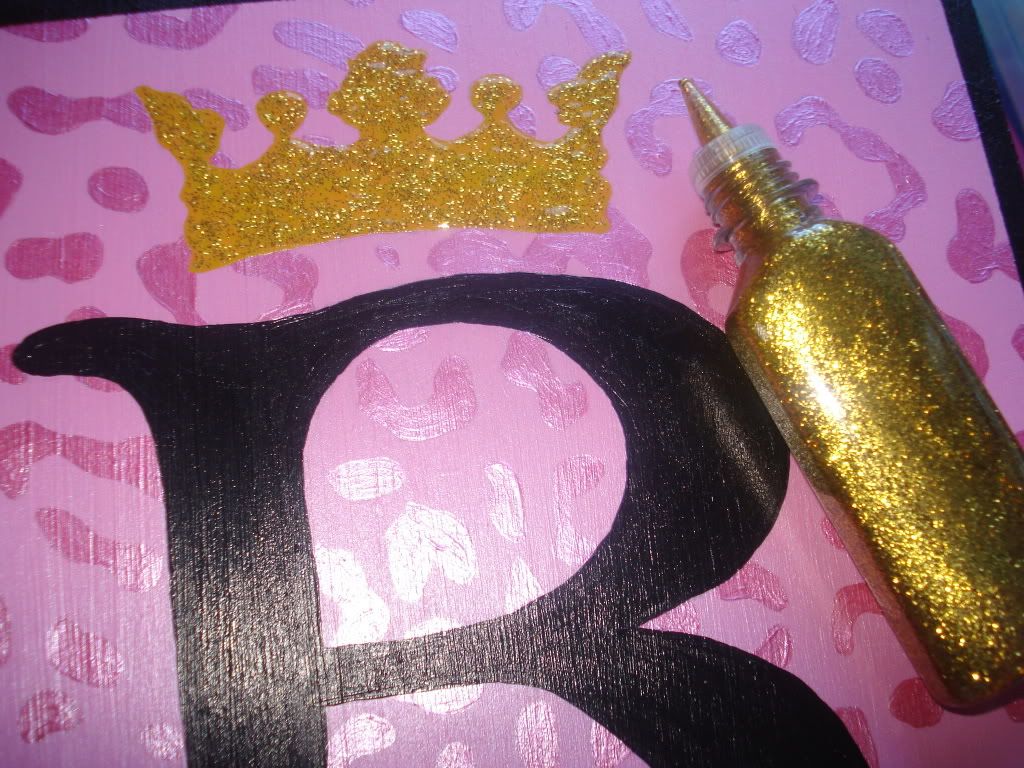
05. I wanted to do a detail on the crown with glitter so i painted it with a base colour (as similar as i could get to gold) and when it was dry i applied three layers of glitter glue.
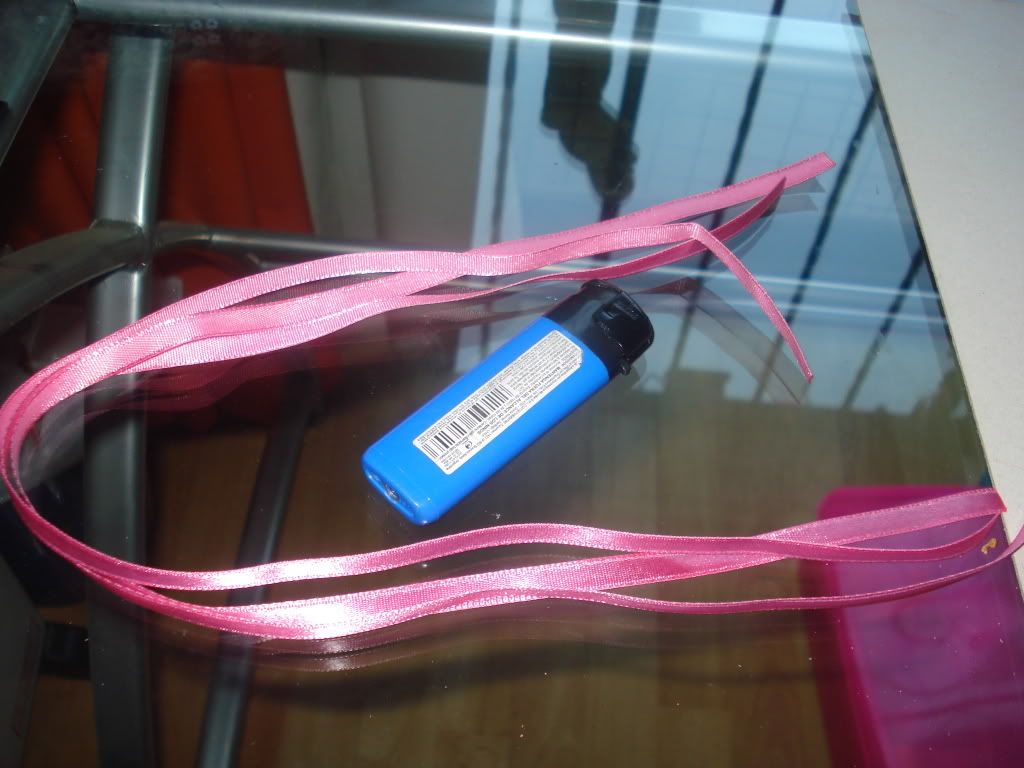
06. Cut your ribbon (I used three strings of 25 cms each) and burn the ends with the lighter so that they don't fray. Don't get the flame too near the ribbon when you do this! With just the heat it will burn as much as we need it.
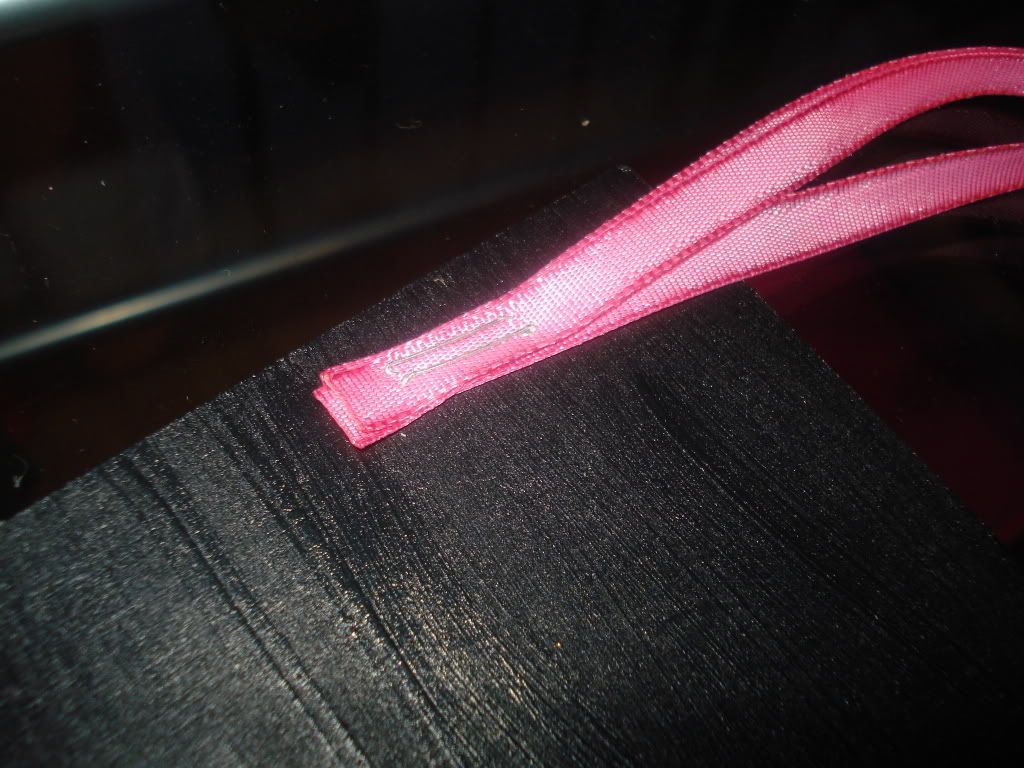
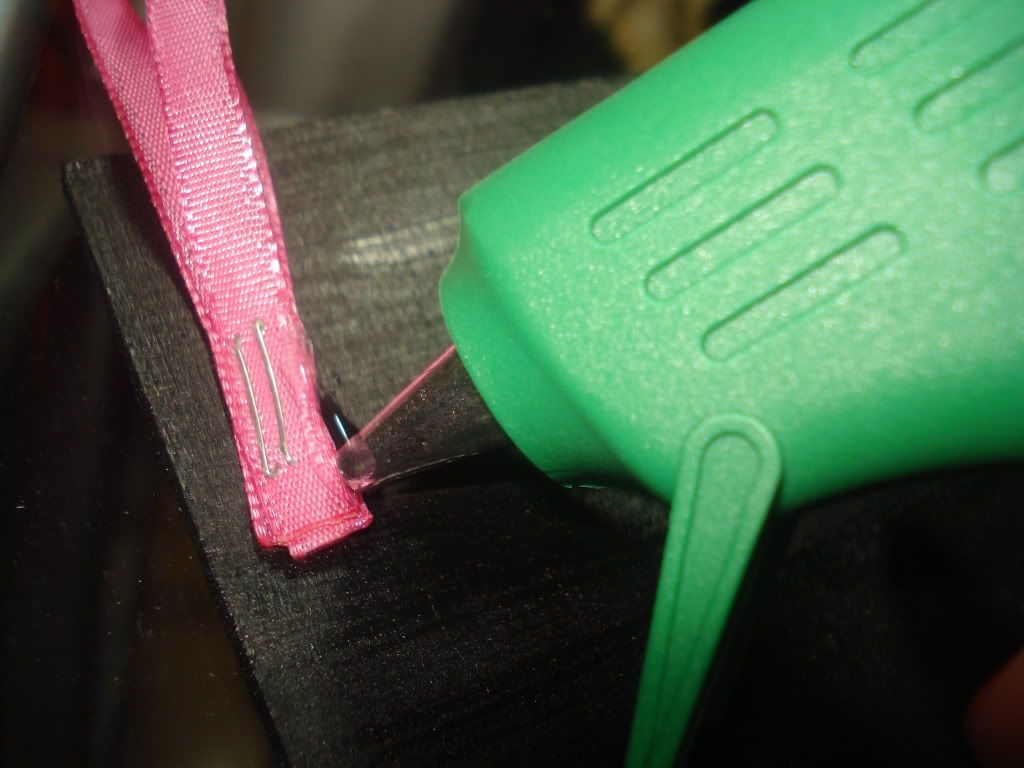
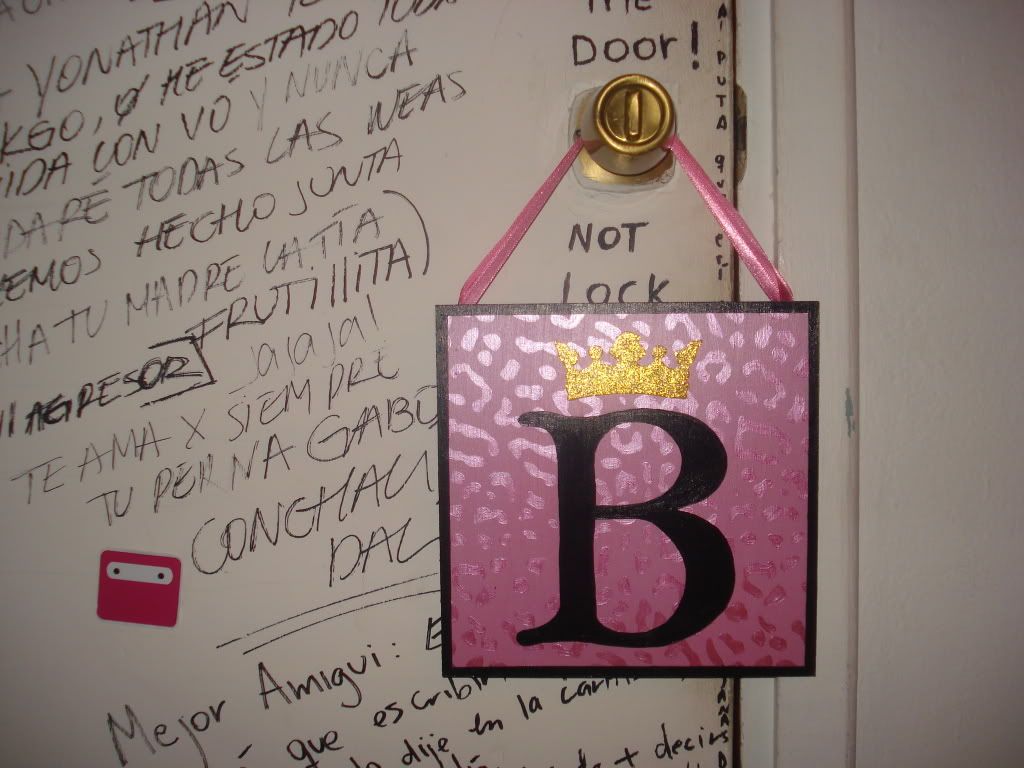
07. Staple the ribbon to the back of the wood. As a bonus, i glued it so that i could be 100% sure that it wasn't going to come off.
08. Write a super gay and cheesy message on the back :D.
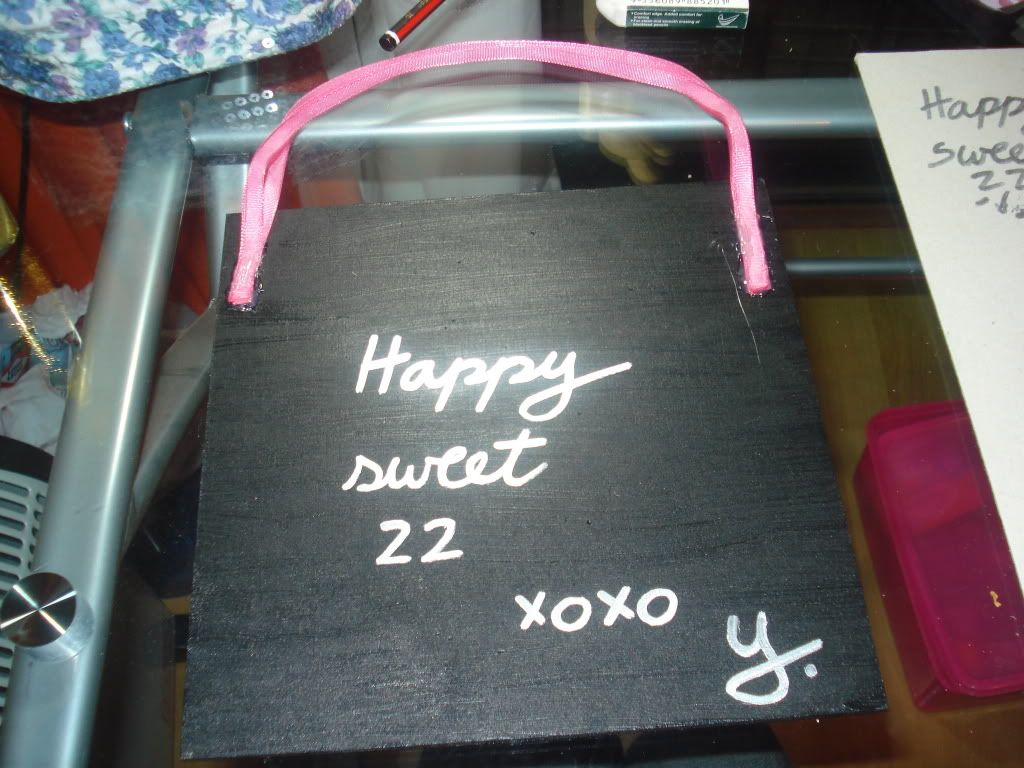
09. And you're done!
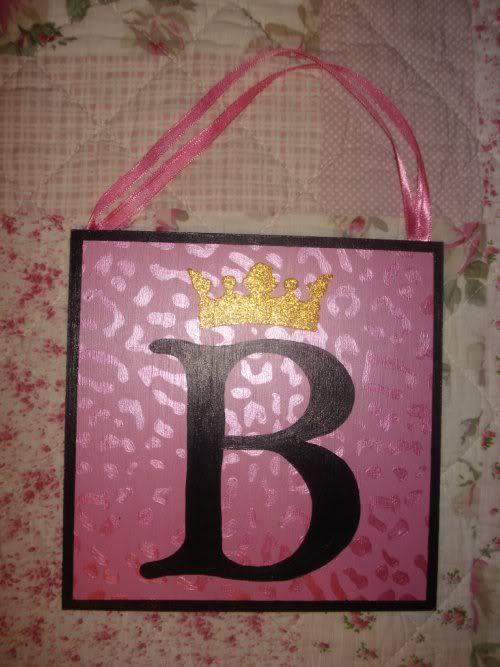
I really hope that you undestood everything i said up here (because i'm totally aware that my english isn't as awesome as i think it is) and don't think twice to comment or email me with every question you have. Oh and sorry for the horrible pictures but acrylic paint has this kind of plastic looking thing going on and it reflects all the light of my camera's flash. Hope you liked this post and have fun!♥
What a great gift for a friend, I would love one of these. I don't think I'd be as artistic as this.
ResponderEliminarit really looks beautiful!
ResponderEliminarx
Que bonito , me gusta , especialmente la coronita owo
ResponderEliminarwhat an awesome gift idea!! very creative <3
ResponderEliminarThis is a really cute idea for a present and would be cheap too! Love it!
ResponderEliminarxoxo
i love this! might make my nephew an fc barca one for his room, he'd love it!
ResponderEliminarThis is great, I wish I was as crafty as you!
ResponderEliminarIt's so cute,you really made it lovely!
ResponderEliminar